
Frames in Figma
In Figma, you can add layers directly to the Canvas. If you're designing for a specific device or screen size, you may want to create a container for your designs. This is where frames come in.
Who can use this feature
Anyone on any team or plan can use frames.
Anyone with can edit access to a file can create and edit frames.
In Figma, you can add layers directly to the Canvas. If you're designing for a specific device or screen size, you may want to create a container for your designs. This is where frames come in.
If you've used design tools before, you'll be familiar with artboards. Like artboards, frames allow you to choose an area of the canvas to create your designs in.
Unlike traditional artboards, you can also nest frames within other frames. This allows to create more complex design that work together.
Frames also give you access to extra functionality, like Layout Grids, Auto Layout, Constraints, and prototyping.
Create frames
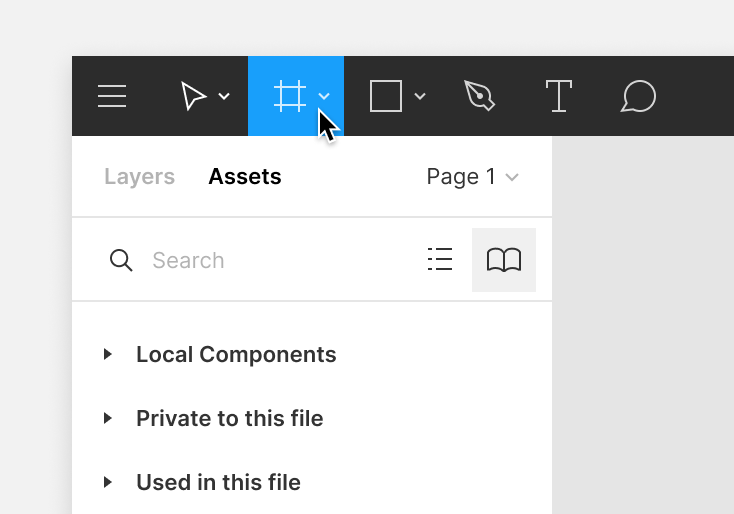
Create frames in the canvas using the frame tool. There are a few ways to select the frame tool:
Use the keyboard shortcuts F or A
Select the frame tool in the toolbar:
Then you can create a variety of frame sizes in the canvas:
Click in the canvas to create a default frame with 100 x 100 dimensions
Click and drag in the canvas to create a frame with custom dimensions
Use the dropdown in the right sidebar to select a frame preset.
Choose presets for popular device and assets templates:
Phone
Tablet
Desktop
Watch
Paper
Social Media
Figma Community
Click the arrow to expand the section and select a preset from the list.
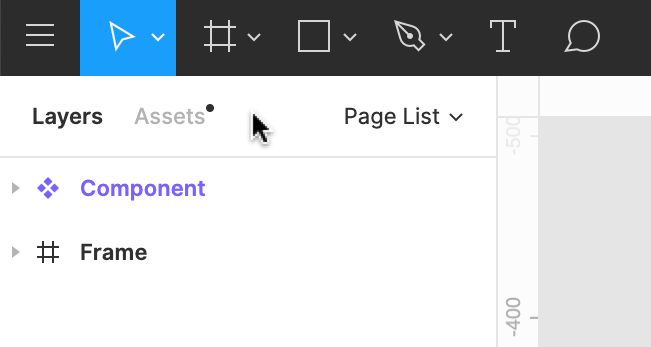
Identify frames by the in the Layers Panel.
Tip! You can also create a frame around existing objects, whether it's a single layer or selection of layers. Use the frame selection keyboard shortcut:
MacOS: ⌥ Option ⌘ Command G
Windows: Ctrl + Alt + G
Frame properties
There are a few properties associated with frames. Frames support the following properties.
Corner Radius: Round the corner of a frame to create softer edges.
Clip Content: Hide any objects within the frame that extend beyond the frame's bounds.
Layout Grids: Create guidelines to help with the visual structure to your designs.
Auto Layout: Create dynamic Frames that respond to their contents
Fill: Apply a Solid Fill, Gradient, Images (PNG, JPEG, GIF, TIFF and WEBP) to a Frame.
Stroke: Add strokes to a Frame to create a border or outline
Effects: Add a shadow or blurs to a Frame
Extra functionality
Frames allow you to access extra functionality in Figma. You will need to use Frames to use the following features or functions:
Layout Grids: Apply transparent grids, columns, and/or rows to Frames to provide visual structure
Constraints : Define how child objects respond when you resize a Frame. Apply Constraints to objects within a Frame.
Auto Layout: Add Auto Layout to Frames to create dynamic layouts that respond to their contents
Prototyping: Create interactive prototypes that move between Frames in your Canvas
A Frame is a parent object. This means that it can control or influence any child objects you place within it.
Learn more about parent/child relationships in Figma →
Adjust properties of the frame
In the past, it was possible to adjust the properties of child objects when you selected the Frame. Now, you can adjust the properties of the frame itself.
Select a child object by using the keyboard shortcut: Enter or Return.
Press the Tab key to select the next sibling.
Press Shift + Tab to select the previous sibling.
Press Shift + Enter to select the parent
If you want to adjust the fill and stroke properties of a frame and it's children, you can use Selection colors to view or adjust colors in a mixed selection.
Nest frames within other frames
In Figma, you can create frames within other frames. We call this process nesting. This allows you to combine frames with different properties to build complex interfaces.
This creates new hierarchies or relationships:
Top-level frames: Any frame that is directly on the canvas. For a frame to be a top-level frame, you can't nest it within another frame, group, or object.
Nested frame: Any frame that is placed within another frame. You can place frames within top-level frames, or within other nested frames. Nested frames are both a parent and a child.
Children: Any object that is within a frame.
Learn more about parent, child, and sibling relationships.
Top-level frames
Figma bolds top-level frames in the Layers Panel and shows the name of any top-level frames on the canvas:
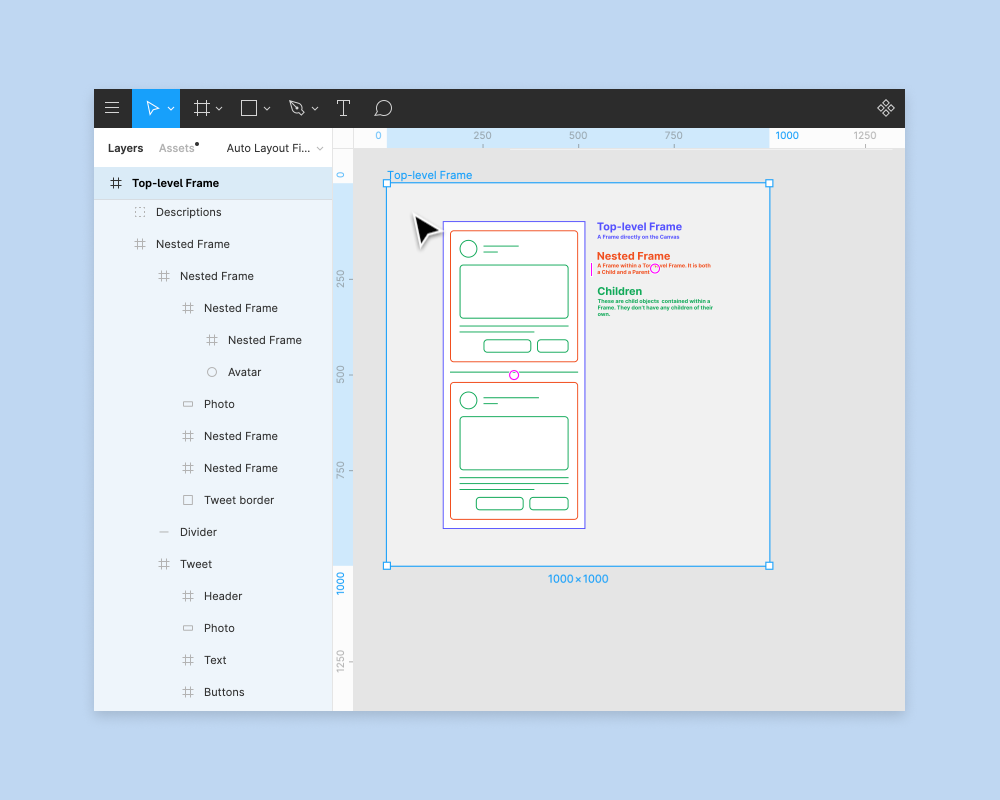
Nested frames
Nested frames are frames that you place within another frame or object. This makes them both a parent and a child. You can place frames within:
Top-level frames
Other nested frames
In groups
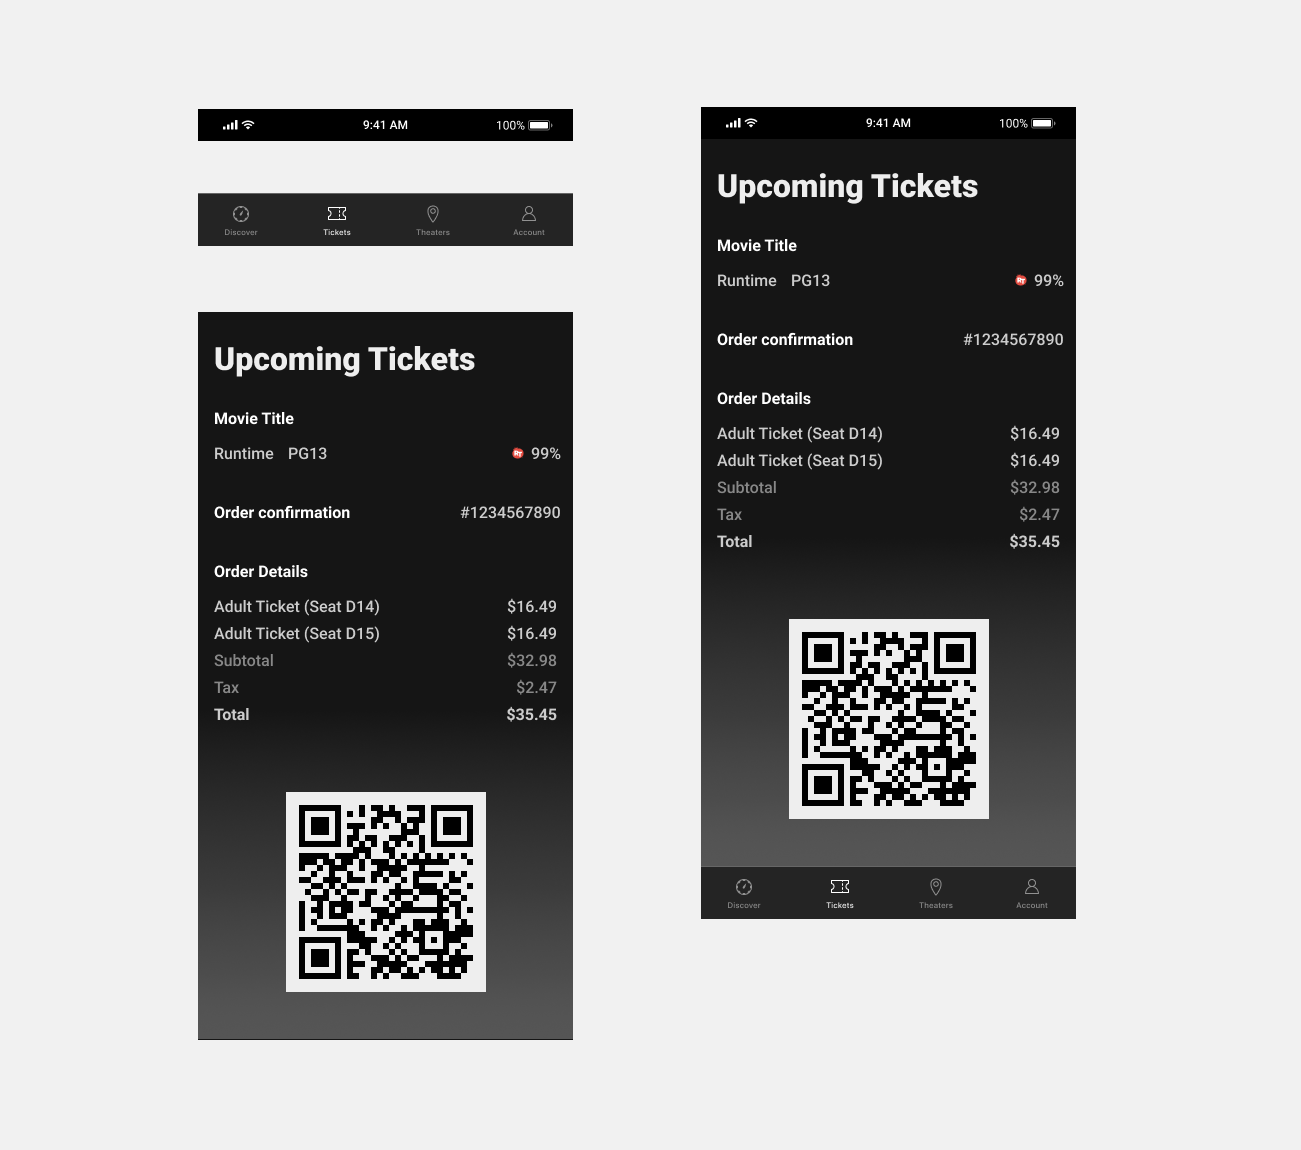
In our example below, each of our elements are in their own frame. We have a status bar at the top and a navigation menu at the bottom. We also have a card that includes the details of our Upcoming Tickets.
Using one of our device presets, we can create a top-level frame for our elements. We can add our elements to the top-level frame to build a single screen in our mobile app.
Resize frames
You can interact with frames like any other object on the canvas, including change the size or scale of frames. There are a few ways to change the size of a Frame:
Drag the frame
Drag to resize a frame manually.
Select the frame in the canvas, or Layers Panel in the left sidebar.
Click the handle in one of the corners and drag to resize. Or, click one of the edges and drag.
**Tip! **To ignore any Constraints on child objects, hold down the modifier key:
macOS: ⌘ Command
Windows: Ctrl
Change the frame preset
Select another frame preset to change the frame's size.
Select the frame.
In the Properties Panel in the right sidebar, select the frame field.
Select a preset from the list.
Choose presets for popular device and assets templates:
Phone
Tablet
Desktop
Watch
Paper
Social Media
Figma Community
Figma will update your frame's dimensions to match the preset.
Note: If you have applied Constraints to any child objects, Figma will resize them to match the new frame preset. Otherwise, objects inside the frame will stay at the original dimensions and position.
Properties Panel
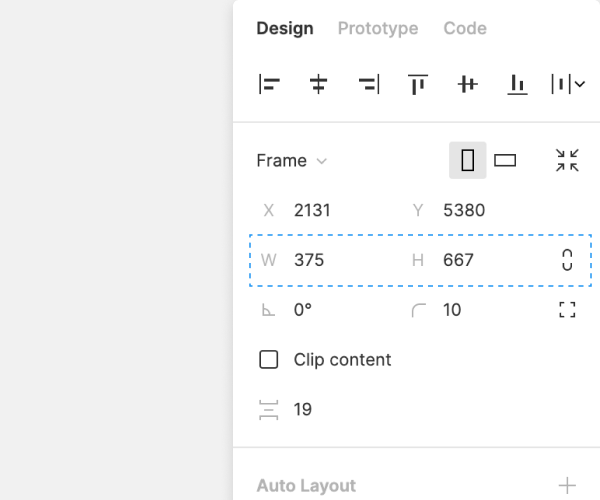
Update the Frame's Width and Height using the Properties Panel in the right sidebar.
Enter a new number in the **W **and H fields, or hover over the icon to scrub the field. Drag left to decrease and right to increase.
Toggle on the link button next to the Width and Height to constraint resizing to the current proportions.
Tip! You can use the dimension fields to perform calculations. This allows you to quickly scale or resize objects.
% Percentage e.g. 50%
+ Add e.g. +100
- Subtract, e.g. -20
* Multiply, e.g. *4
/ Divide, e.g. /8
It's not possible to multiply a width or height by a percentage e.g. *50% will result in a value 50x the original, not 50%.
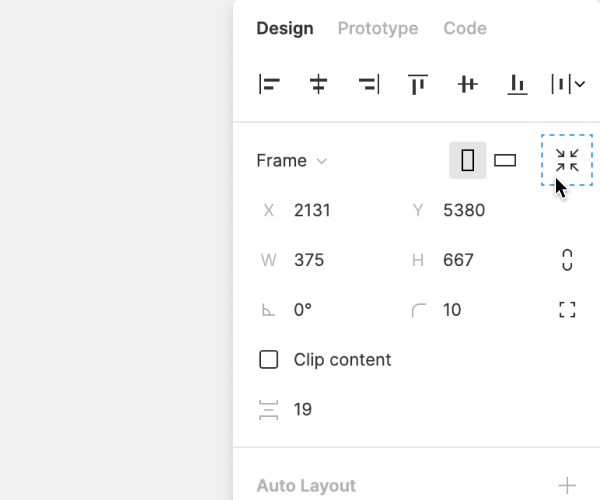
Resize to Fit
You can resize a Frame so that it shrinks or grows to fit its child objects. This will redraw the Frame around the outermost bounds of the objects within it.
Use the keyboard shortcut:
macOS: ⌥ Option Shift ⌘ Command R
Windows:
Click in the top-right corner of the Properties Panel
Was this article helpful?
Last updated